Here’s a simple, beginner-friendly guide to run your first Java program using Eclipse IDE ☕💻
1. Install Required Software
Before starting, make sure you have:
- JDK (Java Development Kit) installed
- Eclipse IDE for Java Developers
👉 If Eclipse opens without errors and lets you create a Java project, your JDK is already configured.
2. Open Eclipse IDE

- Launch Eclipse
- Select a Workspace (a folder where your projects will be stored)
- Click Launch
3. Create a New Java Project

- Go to File → New → Java Project
- Enter Project Name (example:
FirstJavaProgram) - Click Finish
📁 You’ll see the project appear in the Package Explorer.
4. Create a Java Class
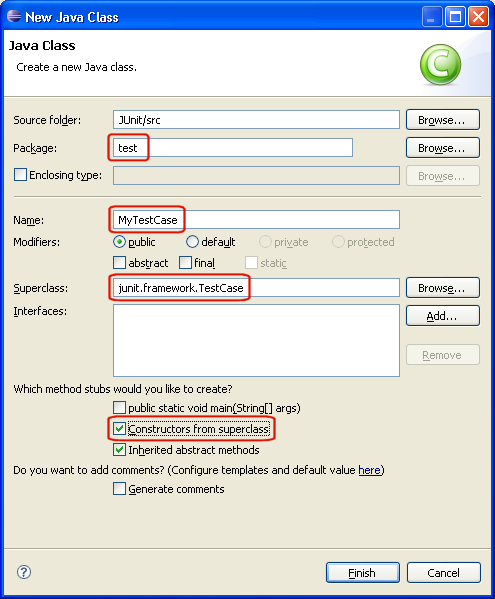
- Right-click on src → New → Class
- Enter:
- Package name (optional):
com.example - Class name:
HelloWorld
- Package name (optional):
- ✅ Check public static void main(String[] args)
- Click Finish
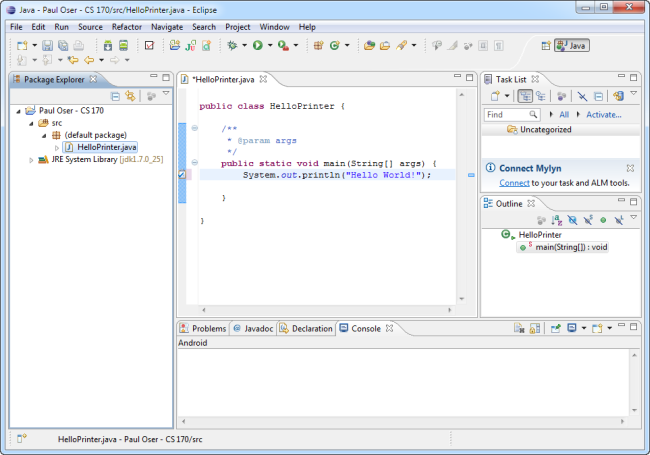
5. Write Your First Java Program
Eclipse will auto-generate code. Replace or confirm it looks like this:
package com.example;

public class HelloWorld {

    public static void main(String[] args) {
        System.out.println("Hello, World!");
    }
}
6. Run the Java Program

Method 1 (Recommended for beginners)
- Right-click anywhere in the editor
- Select Run As → Java Application
Method 2
- Click the ▶ Run button on the toolbar
7. View Output in Console
At the bottom of Eclipse, you’ll see the Console showing:
Hello, World!
🎉 Congratulations! You’ve successfully run your first Java program.
Common Beginner Issues (Quick Fixes)
- ❌ No JDK found → Install JDK and set
JAVA_HOME - ❌ Run option disabled → Ensure
main()method exists - ❌ Red error marks → Check spelling and semicolons
;


0 Comments