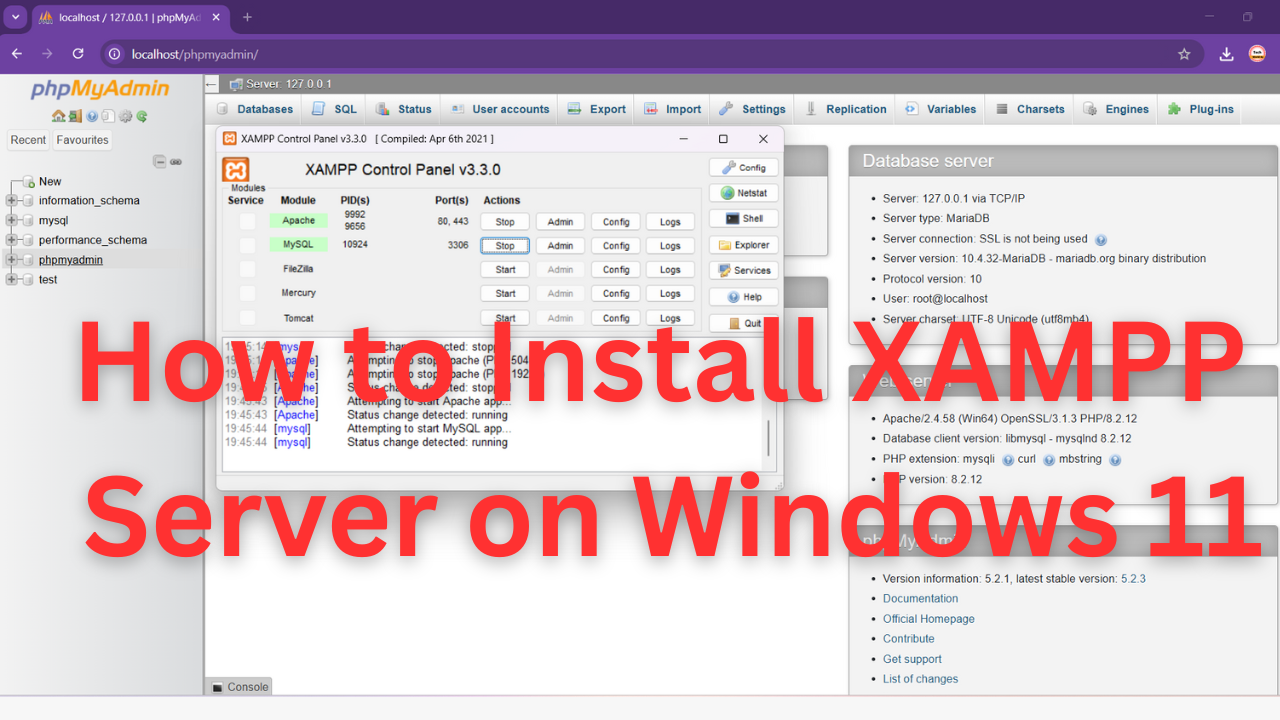
XAMPP is one of the most popular free and open-source cross-platform web server solutions. It allows developers to run a local server environment on their computer and is perfect for PHP development. In this blog post, we’ll walk you through the complete process of downloading and installing the latest version of XAMPP.
✅ What is XAMPP?
XAMPP stands for:
- X: Cross-platform
- A: Apache (Web server)
- M: MySQL/MariaDB (Database)
- P: PHP (Scripting language)
- P: Perl (Scripting language)
It provides an easy-to-use control panel to manage Apache, MySQL, and other services.
📥 Step 1: Download the Latest Version of XAMPP
- Open your browser and go to the official XAMPP website:
👉 https://www.apachefriends.org/index.html - Click on the download button for your operating system. Choose the latest PHP version listed (e.g., PHP 8.3.x).
⚙️ Step 2: Run the Installer
- Locate the downloaded
.exefile in your Downloads folder. - Right-click on the file and select “Run as administrator”.
- If prompted by Windows User Account Control, click Yes.
🛠️ Step 3: XAMPP Setup Wizard
- The setup wizard will open. Click Next to begin.
- Select Components: Leave everything checked unless you know what you don’t need. Click Next. ✅ Recommended components:
- Apache
- MySQL
- PHP
- phpMyAdmin
- Installation Folder: Choose the default (e.g.,
C:\xampp) or select a different path. Click Next. - Bitnami for XAMPP: Uncheck this unless you want to install Bitnami applications. Click Next.
- Click Next again to begin the installation.
⌛ Step 4: Install and Wait
The installation process will now begin. It may take a few minutes to complete. Once done:
- Click Finish.
- You can choose to launch the XAMPP Control Panel right away.
🧪 Step 5: Launch XAMPP and Start Services
- Open the XAMPP Control Panel (it opens automatically or you can search for “XAMPP Control Panel” from the Start menu).
- Start the services:
- Click Start next to Apache.
- Click Start next to MySQL.
- If all is working correctly, their status will turn green.
🌐 Step 6: Test the Installation
- Open your browser and go to:
👉http://localhost/ - You should see the XAMPP welcome page.
✅ Congratulations! You have successfully installed XAMPP on your system.
🧰 Bonus: Using phpMyAdmin
- Open browser and go to:
👉http://localhost/phpmyadmin/ - This is the graphical interface to manage your MySQL databases.
🛑 Common Troubleshooting Tips
- Port 80 in use? Try changing the Apache port to 8080:
- Open XAMPP Control Panel → Click Config next to Apache → Select httpd.conf
- Find
Listen 80and change toListen 8080 - Access Apache with
http://localhost:8080/
- MySQL won’t start?
- Ensure no other service (like MySQL from Workbench or Skype) is using the same port (3306).
📌 Final Thoughts
XAMPP is an essential tool for local development, making it easy to test websites and applications on your computer before pushing them live. With this simple installation guide, you’re now ready to start building with PHP, MySQL, and more.
🔗 Useful Links:
- Official Website: https://www.apachefriends.org
- phpMyAdmin: https://www.phpmyadmin.net
If you found this guide helpful, feel free to share it or leave a comment below! 🚀


[…] XAMPP / Wamp / Mamp/ Lamp (anyone) […]