Here’s a clear, step-by-step guide to download and install Jupyter Notebook on Windows, suitable for beginners. You can install it in two main ways:
Method 1: Install Jupyter Notebook Using Anaconda (Easiest & Recommended)

Anaconda automatically installs Python, Jupyter Notebook, and many scientific packages.
Step 1 — Download Anaconda
- Go to the official Anaconda download page:
👉 https://www.anaconda.com/download - Download Anaconda Installer for Windows (64-bit).
Step 2 — Install Anaconda
- Run the installer
.exefile. - Choose Just Me (recommended).
- Keep default install settings unless you know otherwise.
- Finish installation.
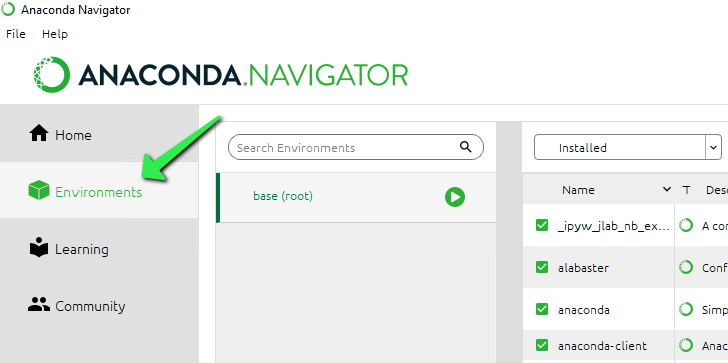
Step 3 — Launch Jupyter Notebook
You can start it in two ways:
- Open Anaconda Navigator → Click Jupyter Notebook, or
- Open Anaconda Prompt and type:
jupyter notebook
Jupyter Notebook will open in your web browser.
Method 2: Install Jupyter Notebook With pip (Without Anaconda)


This option is lighter but requires you to have Python installed.
Step 0 — Install Python (if not installed)
- Download Python from: https://www.python.org/downloads/windows
- During setup check the box:
✔ Add Python to PATH - Install normally.
Step 1 — Install Jupyter Notebook
Open Command Prompt (CMD) and run:
pip install notebook
Step 2 — Launch Jupyter Notebook
Run:
jupyter notebook
A browser window will open with Jupyter Notebook.
Optional: Install JupyterLab (Newer Interface)
pip install jupyterlab
Start it with:
jupyter lab
🎯 Summary
| Method | Recommended | Includes Python | Difficulty |
|---|---|---|---|
| Anaconda | ⭐ Best for beginners | Yes | Easy |
| pip | For light installs | No | Medium |


0 Comments