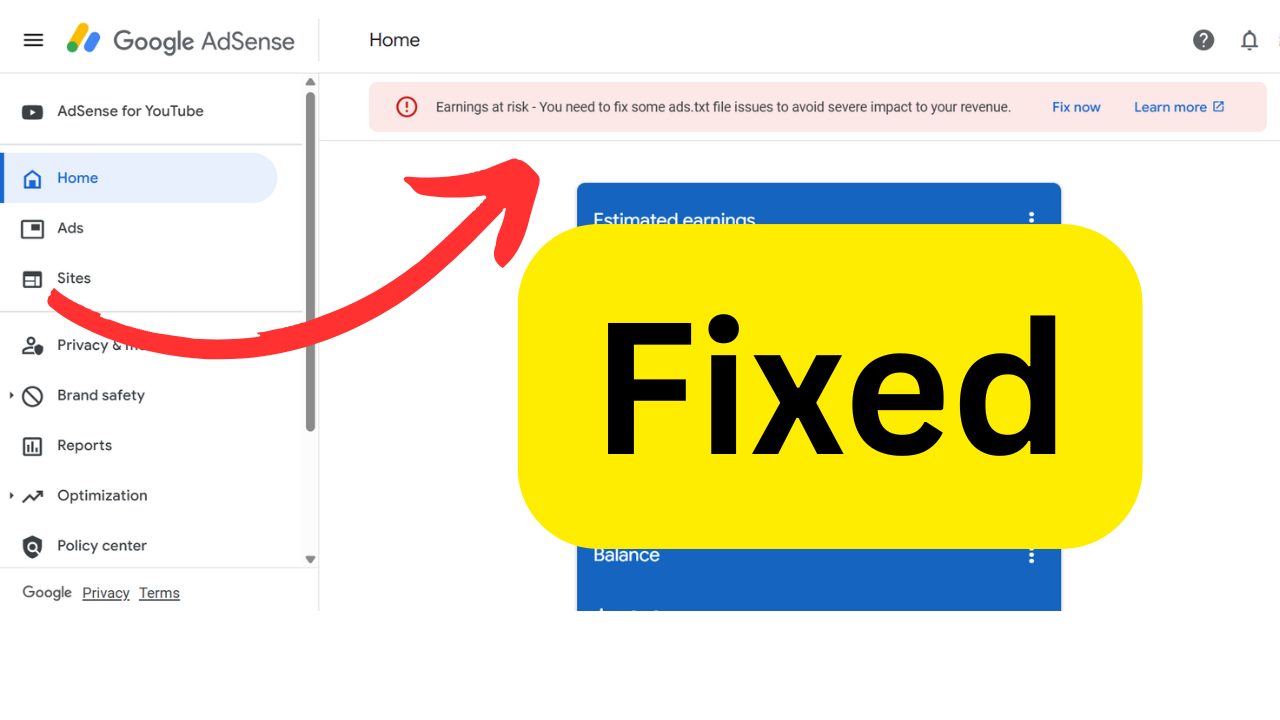
To fix ads.txt file issues and resolve the “Earnings at risk” warning in your AdSense account, follow this step-by-step guide. This ensures you’re authorized to sell ad inventory and helps prevent revenue loss.
✅ What is ads.txt?
ads.txt (Authorized Digital Sellers) is a simple text file that you place on your website. It tells advertisers who is authorized to sell your ad inventory.
🛠️ Step-by-Step: Fix ads.txt Issues
🔍 Step 1: Log into Google AdSense
- Go to: https://www.google.com/adsense
- Check for any alerts or notifications at the top like: “Earnings at risk – You need to fix some ads.txt file issues to avoid severe impact to your revenue.”
📥 Step 2: Download Your Ads.txt File
- In the warning message, click “Fix now”.
- Click the Download link to get your personalized
ads.txtfile. - This file includes authorized lines like: rustCopyEdit
google.com, pub-0000000000000000, DIRECT, f08c47fec0942fa0
Replace
pub-0000000000000000with your own publisher ID.
🌐 Step 3: Upload the ads.txt File to Your Website
- Use FTP, File Manager (cPanel), or your CMS to access your website files.
- Place the
ads.txtfile in the root directory of your domain:- Example:
https://yourwebsite.com/ads.txt
- Example:
✅ Make sure the file is accessible:
- Test it by visiting:
https://yourwebsite.com/ads.txtin your browser.
🧩 Step 4: For WordPress Users
If you’re using WordPress:
Option 1: Use a Plugin (easiest)
- Install: “Ads.txt Manager” or “Insert Headers and Footers”
- Go to the plugin settings and paste the line(s) from your downloaded ads.txt content.
Option 2: Manually upload
- Use a plugin like File Manager or use your hosting control panel.
- Upload
ads.txtto/public_html/or root directory.
🔁 Step 5: Wait for Google to Detect It
- Google may take up to 24–48 hours to verify the change.
- Once detected, the warning should disappear from your AdSense dashboard.
🧪 How to Verify Your Fix
- Visit:
https://yourdomain.com/ads.txt - Ensure your publisher ID (e.g.,
pub-xxxxxxxxxxxxxxxx) is listed. - Check AdSense after 1–2 days to see if the warning is gone.
🧠 Pro Tips:
- Only include entries from authorized ad networks.
- Never share your publisher ID with third parties you don’t trust.
- If you use multiple ad networks, add each of their authorized lines to the same file.

