Here’s a simple, step-by-step guide to update Android Studio on Windows, macOS, and Linux 👇
✅ Method 1: Update Android Studio from Inside the App (Recommended)


🔹 Step-by-step
- Open Android Studio
- From the top menu:
- Windows / Linux →
Help→ Check for Updates - macOS →
Android Studio→ Check for Updates
- Windows / Linux →
- If an update is available:
- Click Update or Download
- Wait for the download to complete
- Click Restart Android Studio
✅ Your Android Studio is now updated to the latest version.
✅ Method 2: Update via JetBrains Toolbox (If Installed)


🔹 Steps
- Open JetBrains Toolbox
- Find Android Studio
- Click Update
- Launch Android Studio after update
✔ Best method if you manage multiple JetBrains IDEs.
✅ Method 3: Manual Update (Fresh Installer)
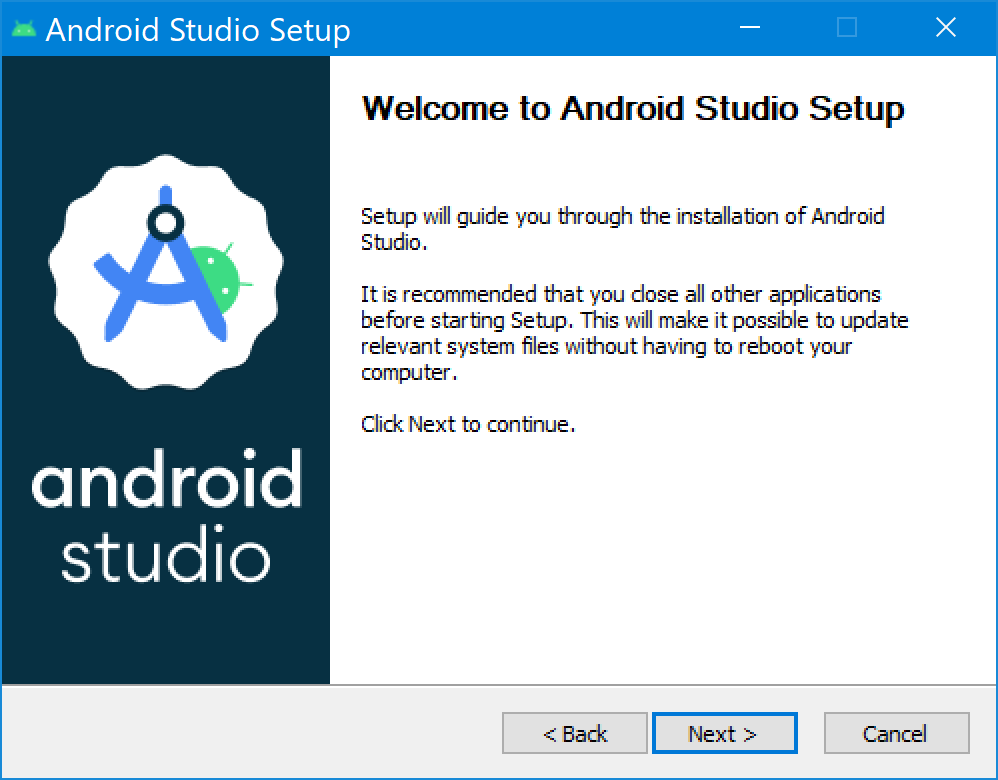

🔹 Steps
- Download the latest Android Studio installer
- Run the installer
- Choose Standard or Custom
- Existing projects and SDKs remain safe
- Finish installation
⚠ Use this method if in-app update fails.
🔄 Update Android SDK, Emulator & Tools (Important)
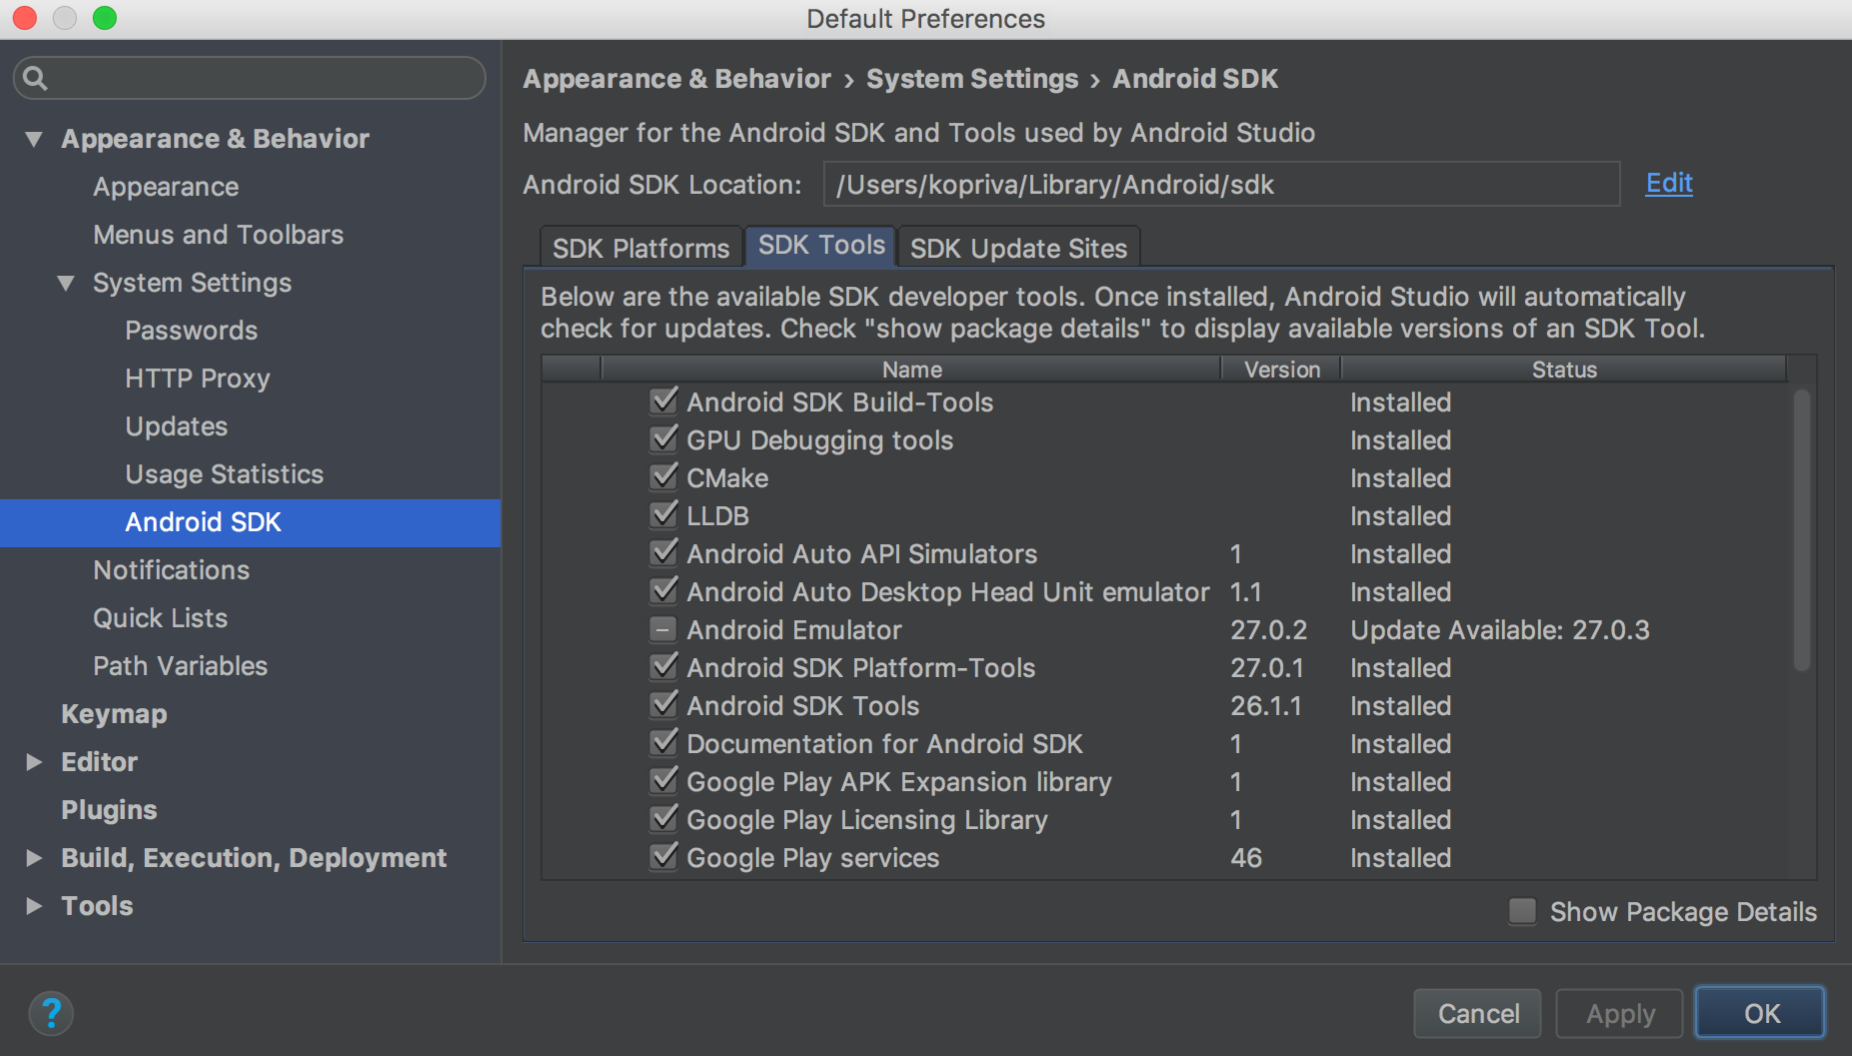
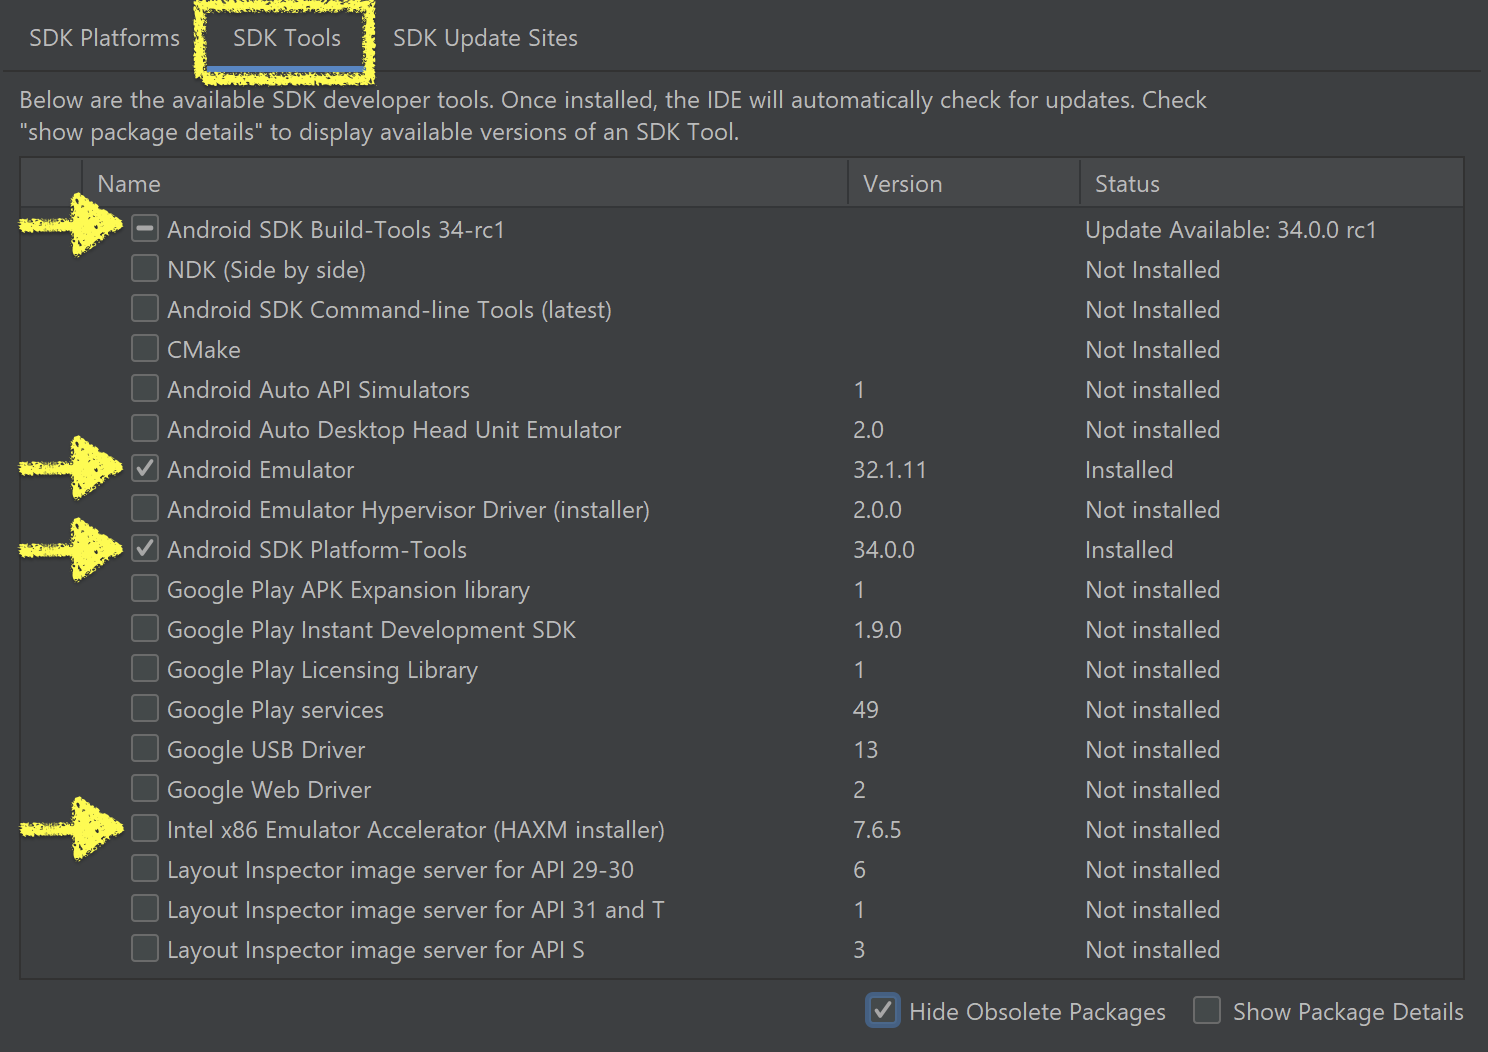
🔹 Steps
- Open Android Studio
- Go to:
Tools→ SDK Manager
- Update:
- Android SDK
- Build Tools
- Platform Tools
- Emulator
- Click Apply → OK
❗ Common Issues & Fixes
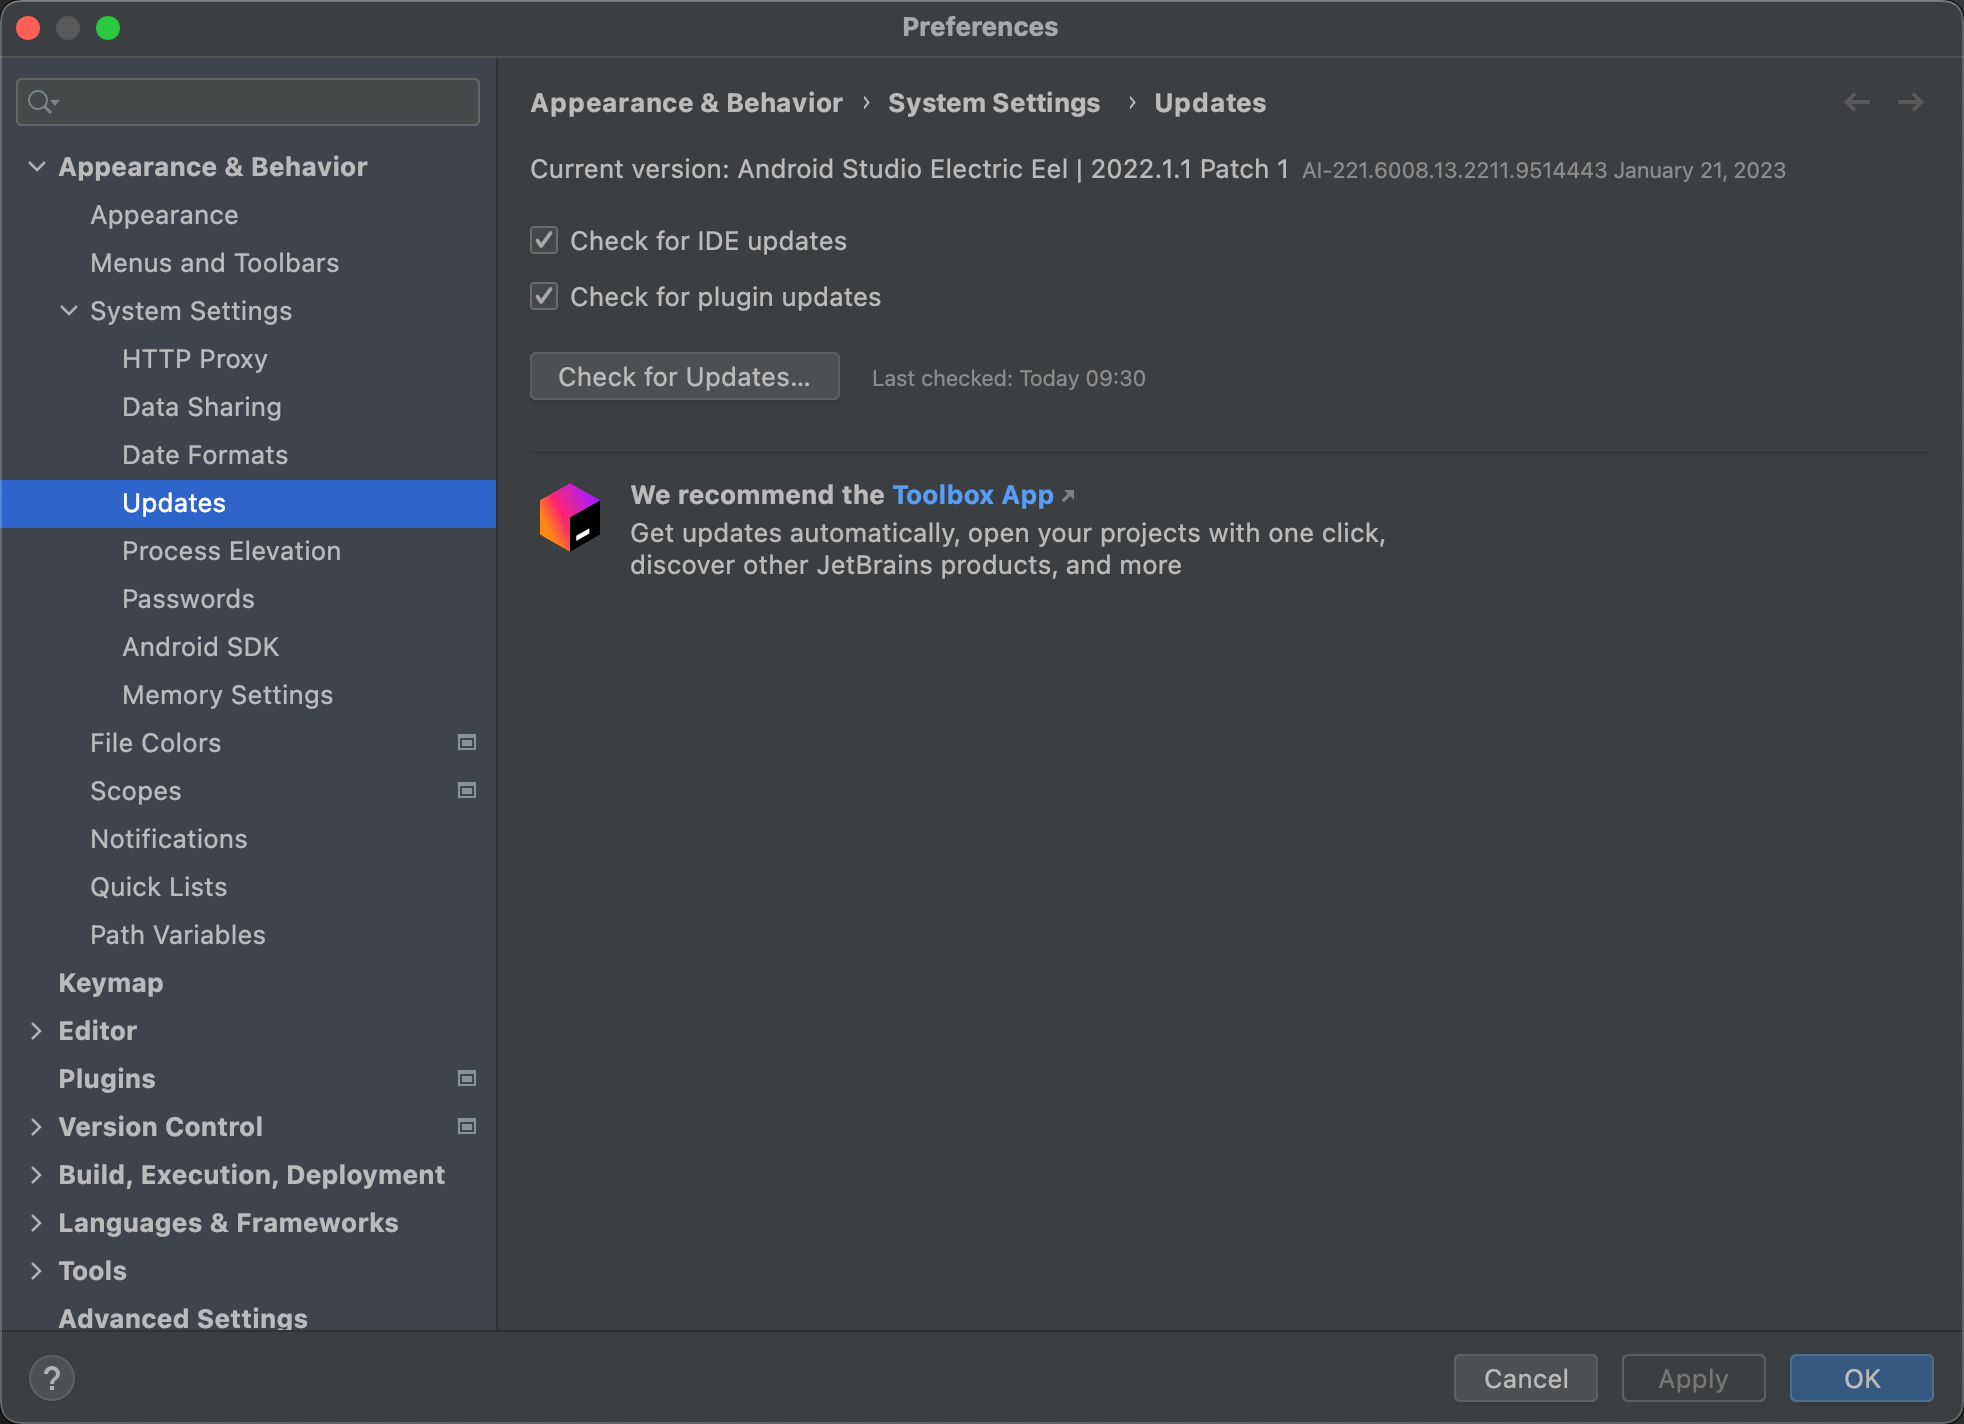
🔸 Update button not visible?
- Go to Settings → Appearance & Behavior → System Settings → Updates
- Enable Automatically check for updates
🔸 Update stuck or failed?
- Restart Android Studio
- Disable VPN / Firewall temporarily
- Try manual installer
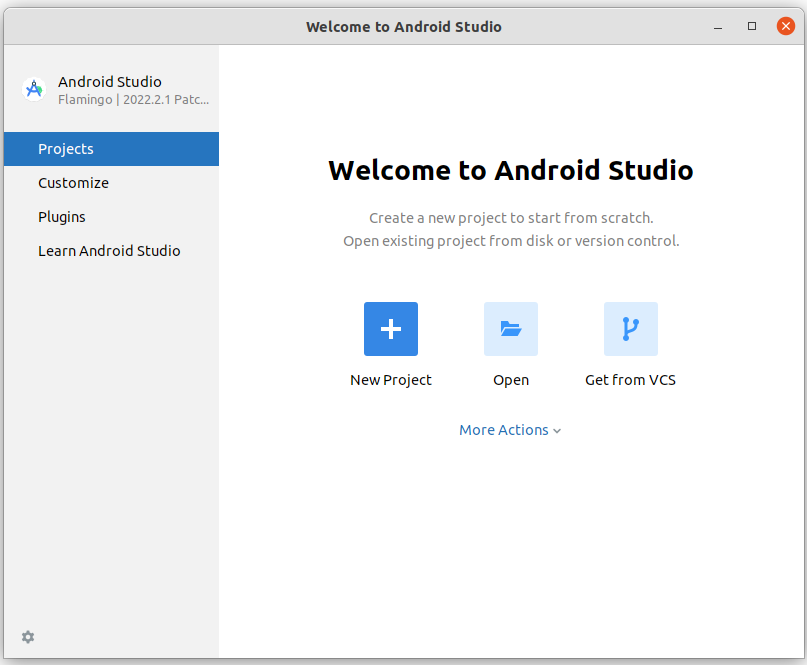
✅ Verify Android Studio Version
- Go to
Help → About Android Studio - Check version name & build number

0 Comments